Basics
The first lesson will cover the absolute basics of Gamemaker and ensure you are set up for success.
Installation
Firs, install Gamemaker to your computer. This course will assume you are using a Windows computer, if you are using a Mac (or perhaps Linux if you are brave) then the instructions may vary slightly.
This course will assume that you are using the LTS (Long Term Stable) version of Gamemaker, and will only be using features in that version. You may use the regular monthly release of Gamemaker if you wish, although there may be some discrepancies in behaviour or features between the two versions. Assuming you will be using the LTS version of Gamemaker, navigate to this page and scroll down to the “GameMaker Long Term Support (LTS) Version” tab, open it, and download the appropriate version for your operating system.
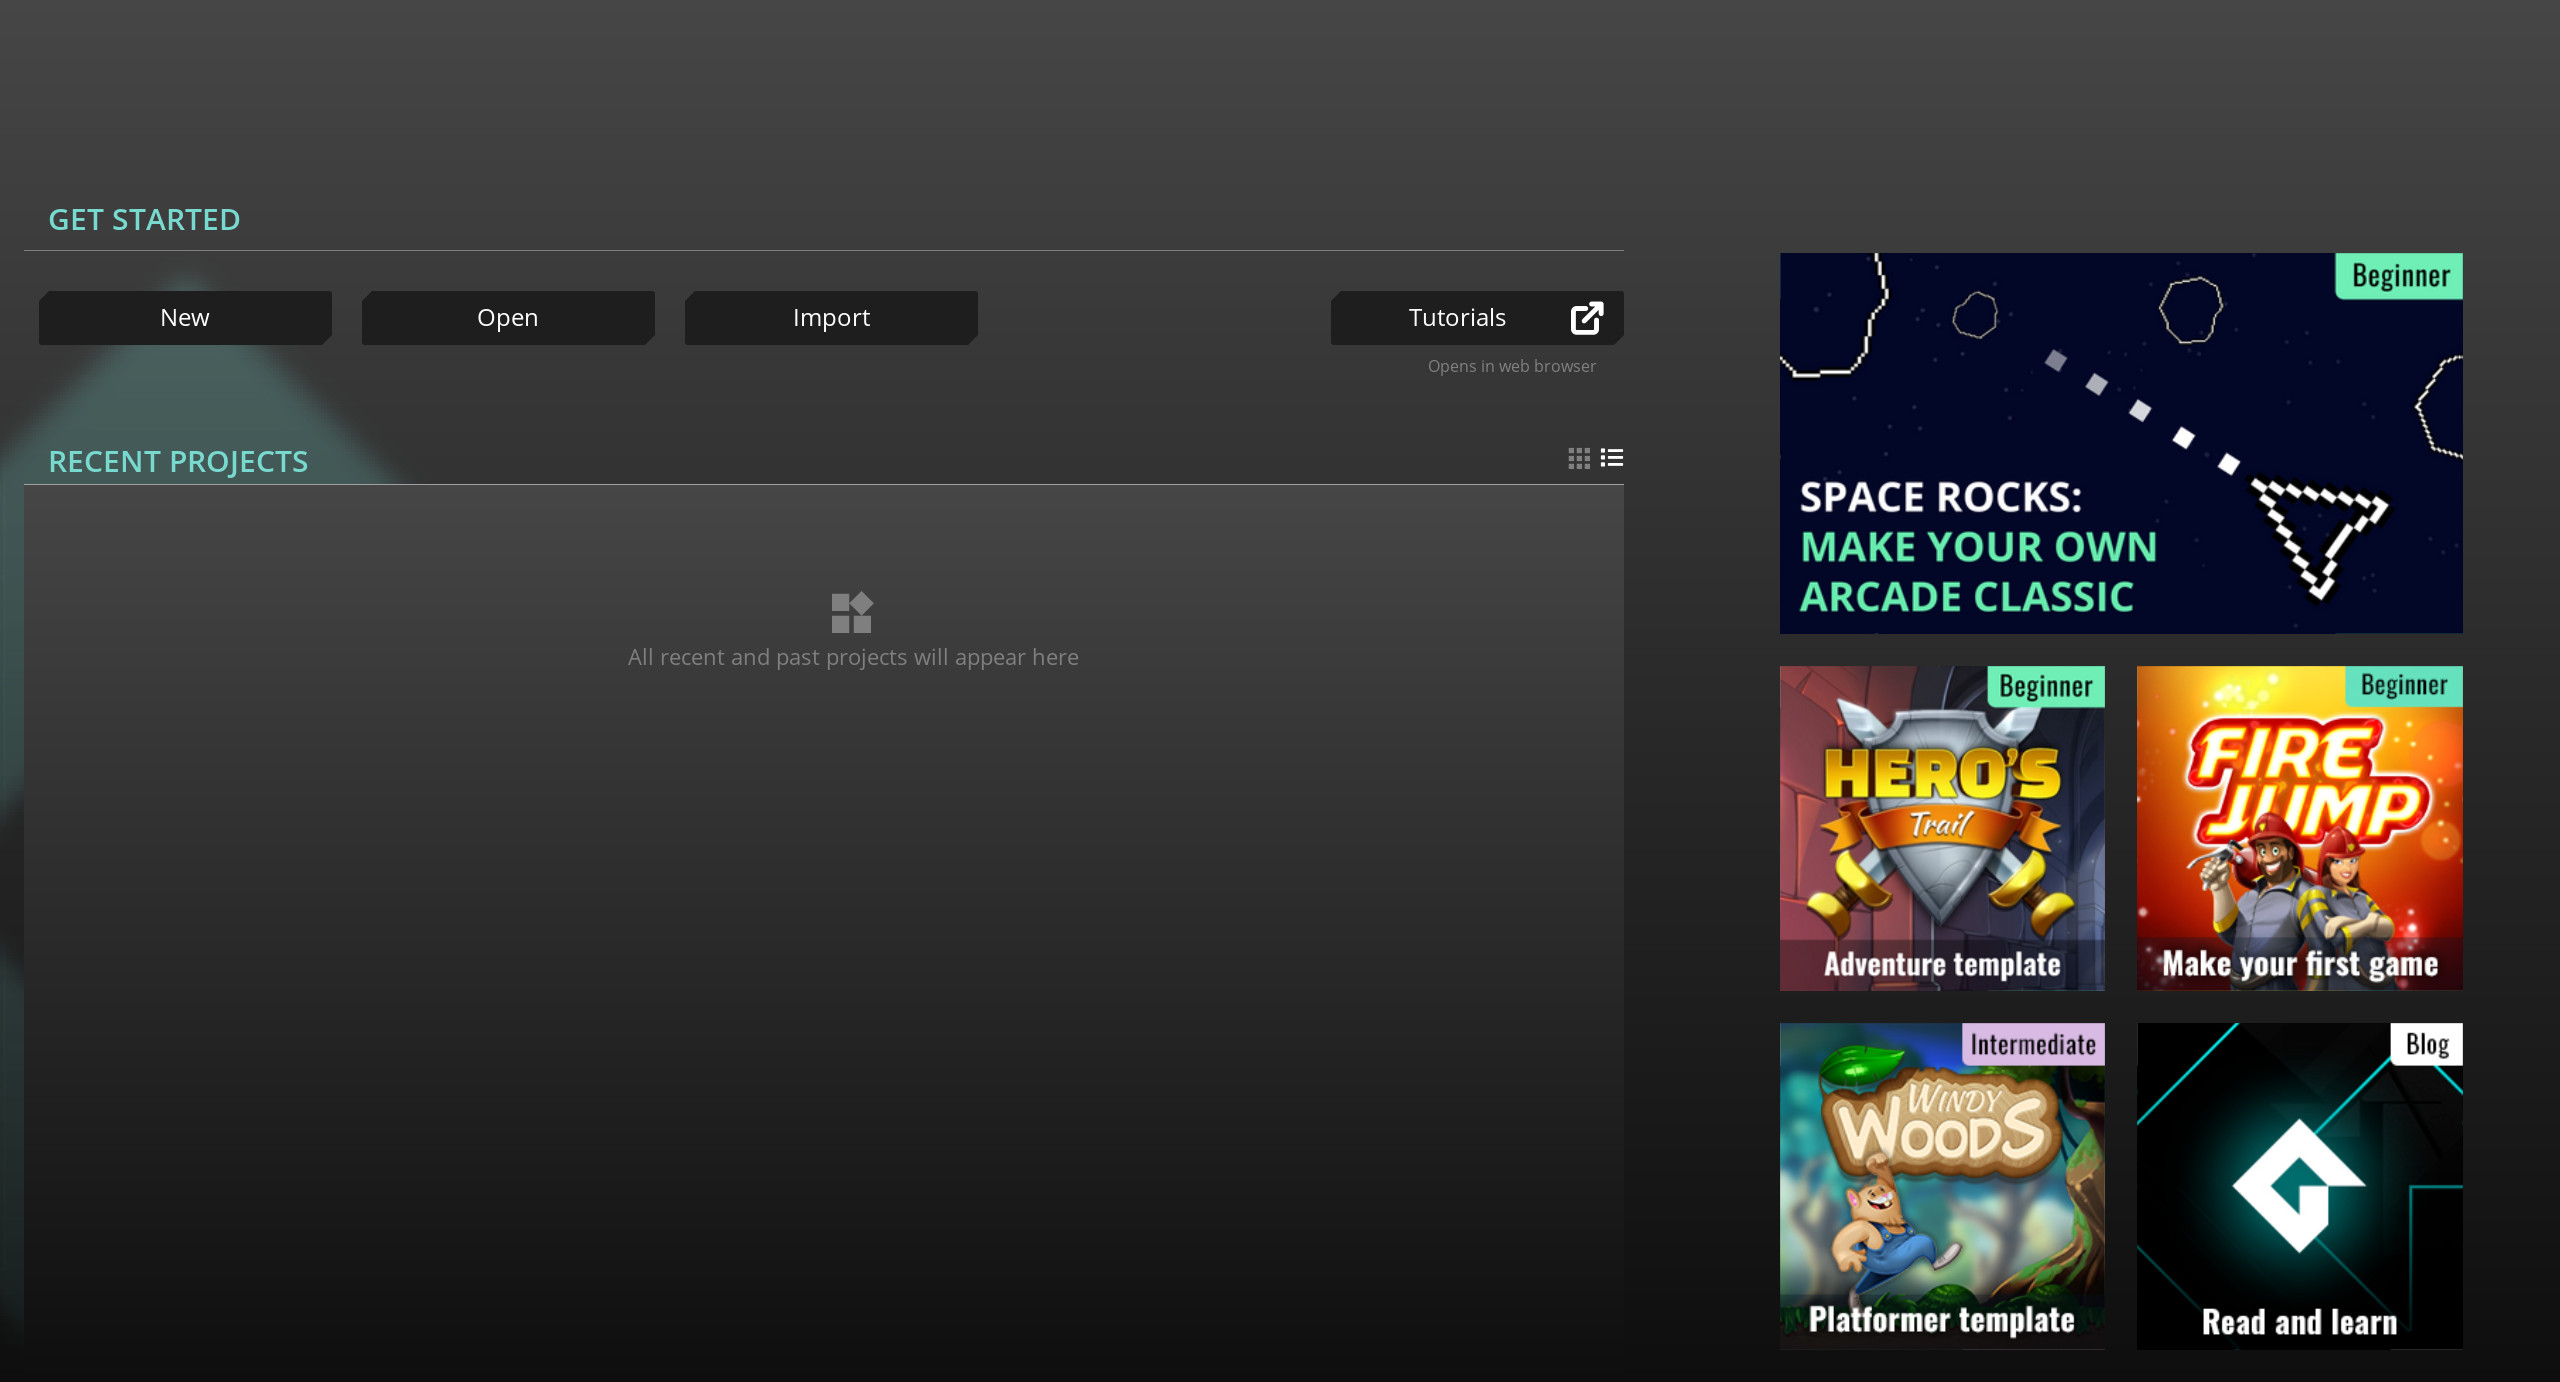
Run the installer and install Gamemaker. If you do not already have an account, you can create one for free, otherwise log in with your existing account. You should see a home page that looks like this:

Version Control
Before you write a single line of code, you should set up version control, to avoid needless tragedies . If you’ve never heard of version control before, it refers to software that lets you save each “version” of your code and jump back and forth between versions quickly and painlessly. Some features include:
- If your project gets corrupted or deleted, you can restore your project to your last saved version in seconds
- You can revert back to any previous version of your project if you make a mistake and want to go back to the previous state
- You can have multiple branches of code, letting you develop and test new features without affecting your “main” code branch
- You can quickly and easily download your project on a new computer or in a new location
- Lets you easily collaborate on code and have multiple people contributing to your project simultaneously
“But why can’t I just backup my project to Google Drive?” you ask. Backups are certainly an excellent idea that are encouraged, indeed you can never have too many backups, however relying solely on a Google Drive backup is fraught with danger. Firstly, if you are honest with yourself it is unlikely that will remember to make backups after each change to your game, so you might lose more work if a catastrophe happens compared to using version control. Secondly, you wont have access to the many other great features of source control, such as easily going back and forth in time to different versions and working collaboratively.
Git
You are of course free to use any version control software you’d like, but this course will assume you are using Git (and Github). Git is a very popular version control system and is the industry standard for programmers. Github is a website which hosts your git projects remotely, you can think of it like how Google Drive stores your backups remotely. It is important to remember that Git is not the same as Github, Git is the version control software, and Github is simply a third party hosting service with additional collaborative features. To start, create a free personal account at Github . If prompted, you can say that your team is “Just Me” and that you are a student, then continue with a free account. Feel free to read the presented guide if you wish. Once signed in, click on your profile in the top right, select Your Repositories then click New. Give your new repository a suitable name, such as “My First Game”, give it a short description, leave it as Private by default and click Create Repository. If that is successful you should be navigated to your new Repo (Repository) page, if not you can go back to Your Repositories and find it there. Leave that page open for now.
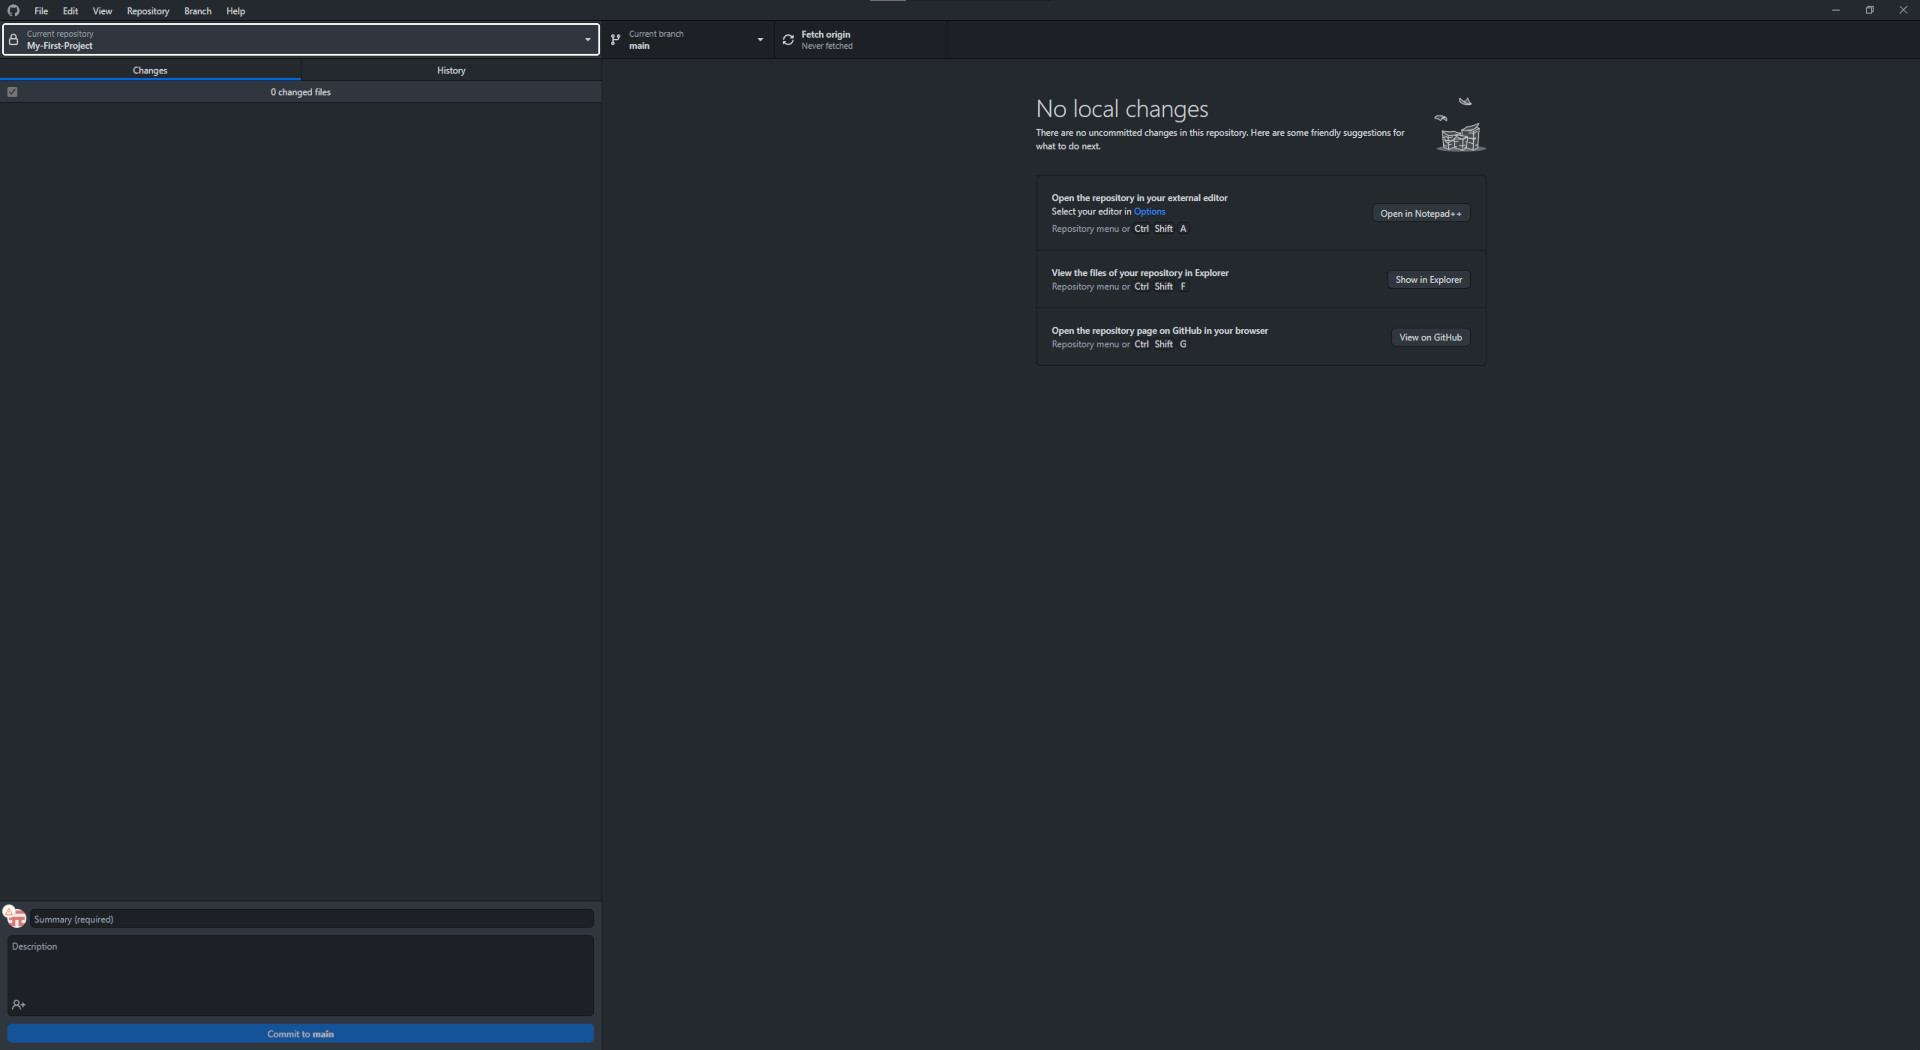
Now, set up Git on your computer. Git can be used either on the command line or through a variety of GUI applications. This course will show you how to set up Github Desktop, a GUI application, as in my opinion it is the simplest and easiest way to get started. If you already know git, want to use the command line, or another GUI application, you are of course most welcome to do so. Download, install and open Github Desktop , click File and Clone Repository, then sign in to Github Desktop with the same credentials as your Github account. You should now see your new Repo in the list, select it and set your local path to somewhere appropriate, such as “…\Documents\Gamemaker Projects\My First Project”. Click on Clone and after a short wait, you will now have a copy of your newly created Repo on your computer!

New Gamemaker Project
Return to the Gamemaker home screen and click on the New button, then type in a suitable name for your project, perhaps “My First Game”, and change the location to the same folder where your .git file is. Once you are satisfied, click Let's Go to create your project. If done correctly, the contents of your chosen folder should include a .git file (if you can’t see it, make sure to enable “Hidden Items” in File Explorer), a Gamemaker project file and a couple of extra folders:

Congratulations! You have created your very first Gamemaker project, and set up Git and Github while you were at it. Now you can proceed to the next chapter where a tour of the IDE awaits, and you will begin to get comfortable with the most common features you will be interacting with.
If you wish, you may peruse the following additional resources to further your knowledge: