Exploring the IDE
Now that you have set up our first Gamemaker project, lets take a quick tour of the IDE to get to grips with the workflow of Gamemaker.
Overview
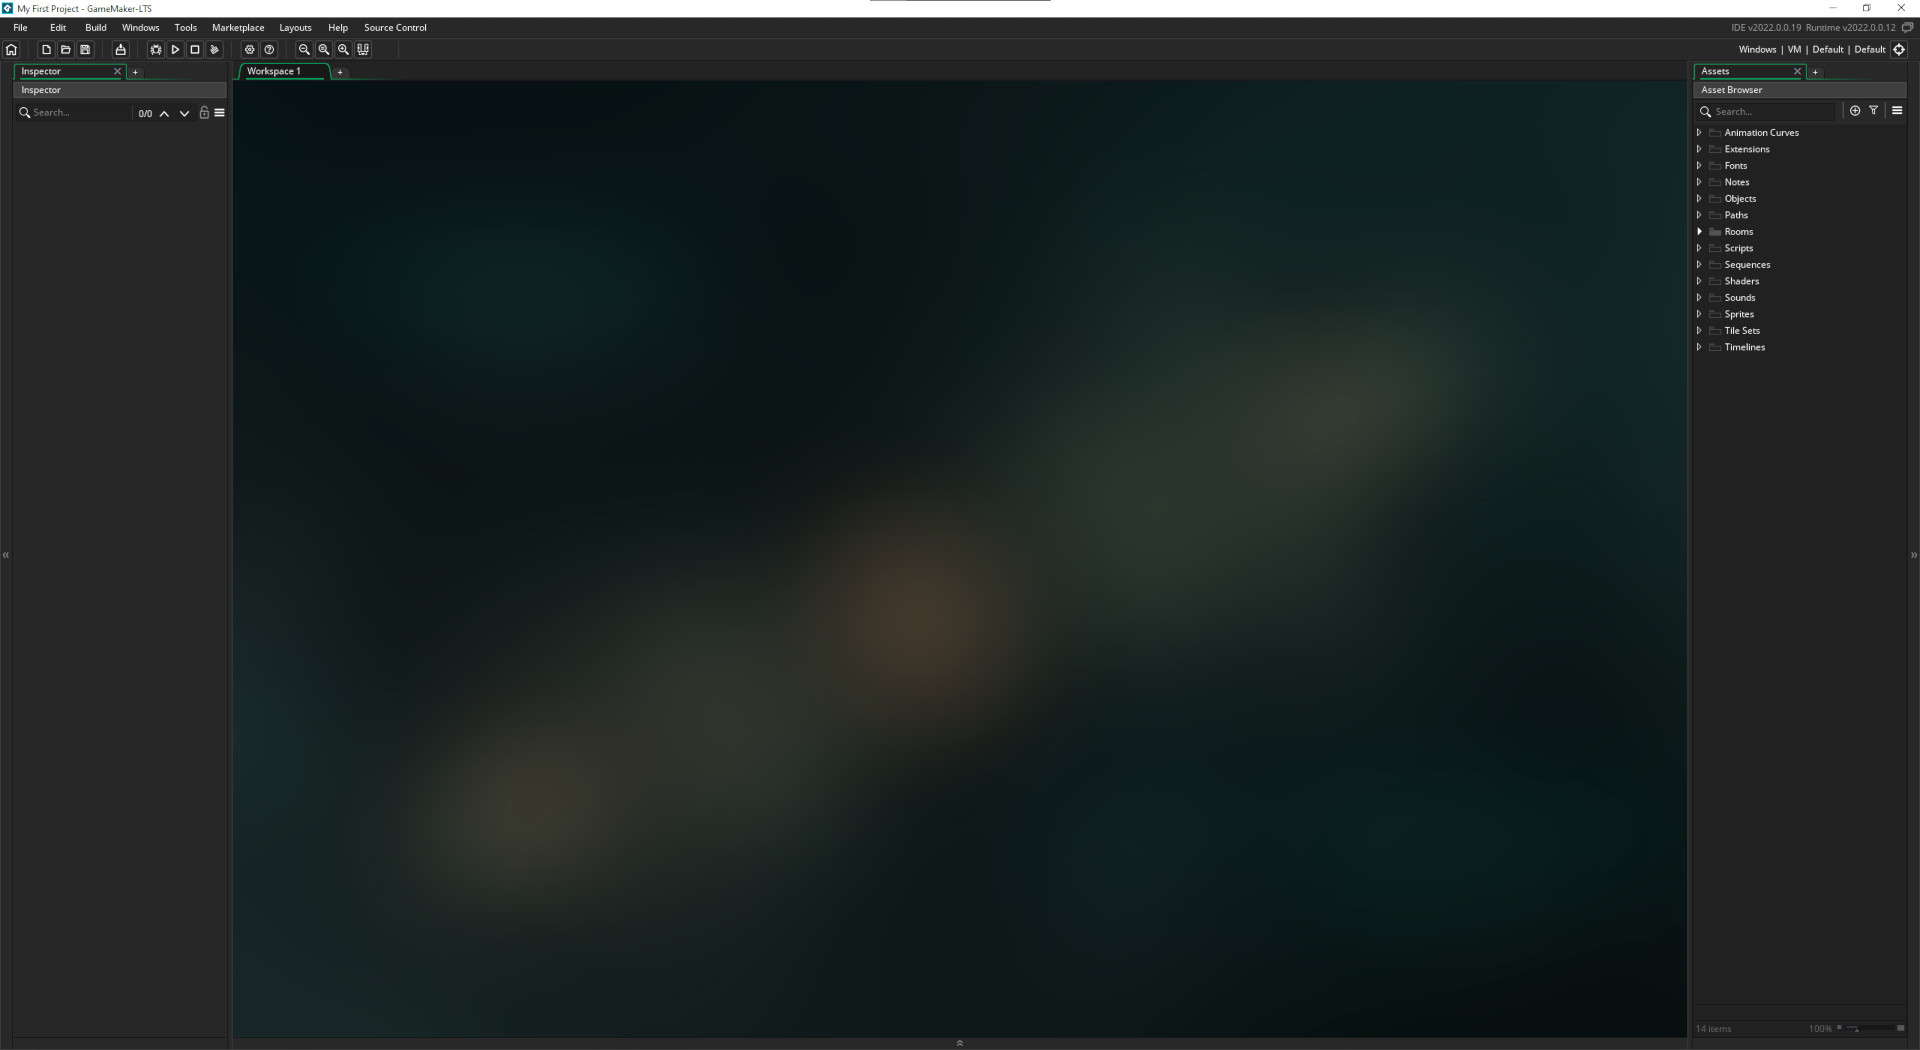
If you open your Gamemaker project, you will be presented with a blank Workspace, Asset Browser and Inspector. Please read this article about Workspaces in Gamemaker for a quick overview.

The most important sections you will be working with are the Asset Browser, the Inspector, the bottom dock and the Workspace itself.
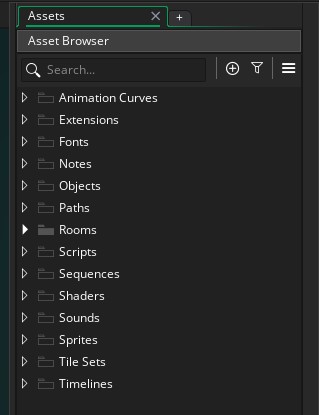
Asset Browser
The Asset Browser lets you control and navigate all of your game’s assets. These assets include:
- Objects
- Rooms
- Sprites
- Sounds
- Fonts
- Much more!

A full list of asset types can be found at the bottom of this page. Although the Asset Browser comes with named groups by default, such as Objects and Sprites, you are not limited to placing specific asset types into specific groups. While the default groups are quite sensible, you are free to group your assets in whichever way you feel is best. You may even delete, rename or create new groups through the right click context menus in the asset browser. The most commonly used asset types will be covered in further detail in the next chapter.
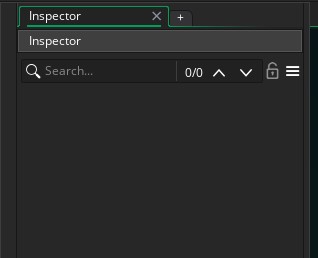
Inspector
A relatively recent addition to Gamemaker, the Inspector allows you to view and modify properties of an asset. Think of it like a preview window into a selected asset that also allows you to view and edit parameters quickly and easily. This is particularly useful if you want to change a property of an asset without double clicking and fully opening up the asset in the Workspace, as well as checking properties at a glance. Further detail on using the Inspector can be found in the manual.

Bottom Dock
The bottom dock contains many tabs, each with important and distinct features, that will quickly be covered here with an overview of the most important tabs. These tabs are primarily useful for debugging and diagnostic purposes, and will only get more useful over the course of your game making journey. Note you may or may not see every tab described here, you can control this via the Windows tab on the top bar.
- Output The console output from Gamemaker. Exceptionally useful for diagnosing bugs when compiling your games, as well as for printing messages to for testing purposes
- Search Results Shows your global search results (Ctrl + Shift + F) and allows quick navigation to those results by double-clicking
- Compile Errors Shows error messages from attemtping to compile your games, pretty straightforward
- Instances/Variables/Globals Shows the current value of variables when running your games in debug mode, can be in real time if the option is selected, otherwise they will update when the game is paused or at a breakpoint

While the other tabs are useful, they likely wont be needed until you become a more advanced Gamemaker user, so we will leave those until later.
Workspaces
The large, currently empty section in the centre of the screen is a Workspace. This is where the currently open assets will appear and where you will spend the majority of your time inside Gamemaker. Most assets such as objects, sprites, sounds, fonts and more will open as floating windows in the Workspace, however some assets such as rooms and asset editors such as the sprite editor will open a new tab and be ‘maximised’ within the Workspace window. You can navigate between any open Workspaces and rooms, sprites etc. with the tabs in the top-centre of the Workspace.

With that short introduction complete, lets quickly move onwards to creating some basic assets that you will use as a foundation for the rest of this course.